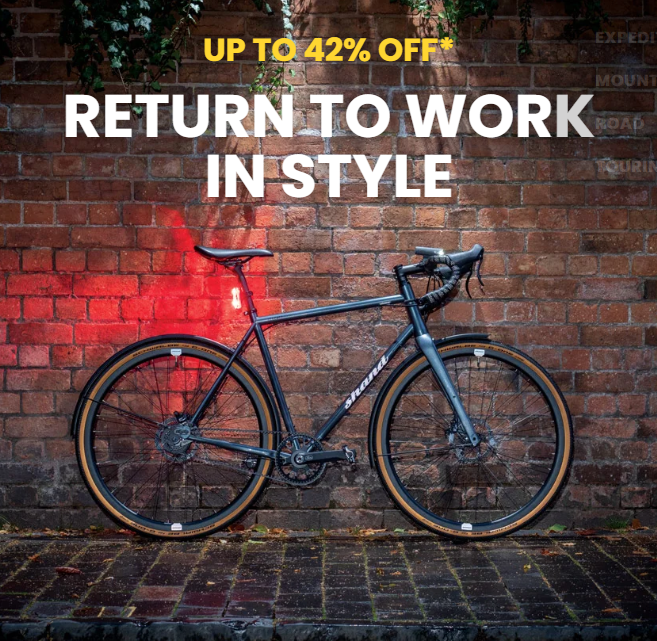
Hand-built steel gravel bike built for performance and adventure. Takes up to 50mm tyres,
with mounts for racks, mudguards, three bottle cages and anything cages.
UK-made steel bike built for adventure. Versatile and responsive on all terrains, with clearance for
wide tyres, racks and guards. Compatible with Rohloff, SRAM, or Shimano.
UK-Made Steel Adventure & Gravel Bikes for Riders Who Explore Further.
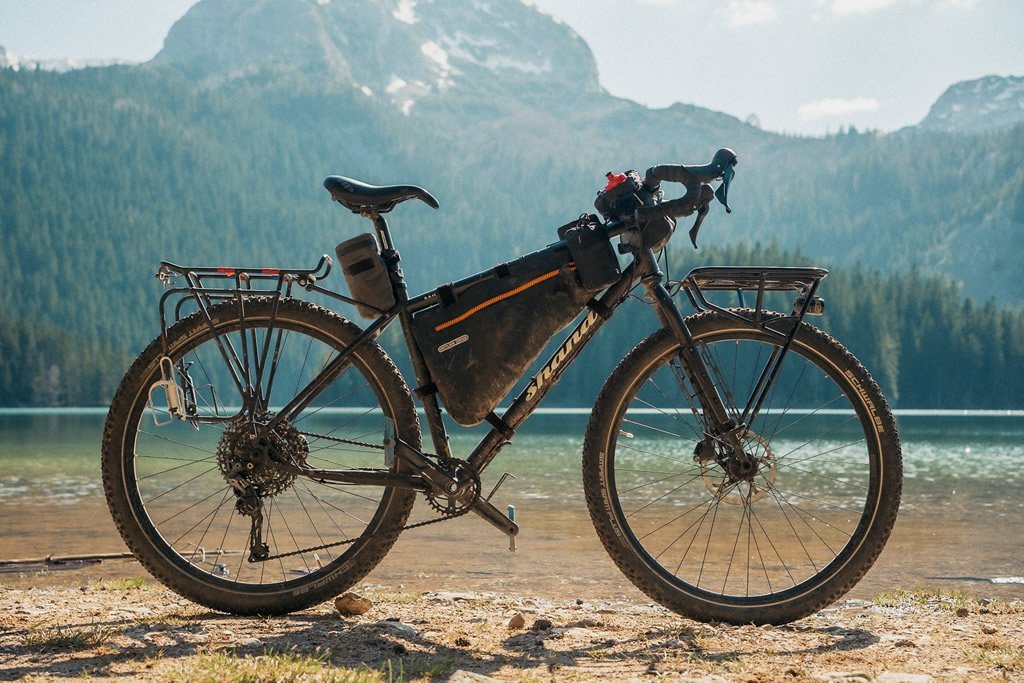
At Shand Cycles, we build bikes for riders who want to go further, explore deeper and take the long way home. Born in Scotland’s wild landscapes, our UK-made steel adventure and gravel bikes are handcrafted for the riders who seek freedom on dirt, tarmac and everything in between.
Every frame begins with the finest Reynolds and Columbus steel tubing, selected for its strength, comfort and lifetime durability. In our workshops, real cyclists craft each bike by hand—because we know what matters when the road ends and the adventure begins. Whether you’re heading out on a gravel epic, a loaded bikepacking trip or a multi-day touring ride, our steel gravel bikes and steel adventure bikes are built to perform, mile after mile.
Because we ride the same trails, roads and weather you do, we build with purpose: balance, comfort, stability and the confidence to explore anywhere. Every Shand is built to order using trusted components from Rideworks, Rohloff, Shimano and SRAM. From Rohloff adventure tourers to fast, capable steel gravel bikes, every Shand carries the same promise—reliability, craftsmanship and joy in every ride.
– Built for the Journey –
From Rohloff adventure tourers to fast, capable steel gravel bikes, every Shand carries the same promise.
Our bikes were born in Scotland, where rugged and beautiful landscapes push the mind and body of the rider.
Every frame begins with the finest Reynolds and Columbus steel tubing, selected for its strength, comfort and lifetime durability.
Our pursuit has always been to ride more and create the bikes that thrill us as riders.
Two bikes from Shand, both custom builds one rohloff tourer and one nippy road bike. Russell is an amazing frame designer and totally gets what u want and how women are different from men! The whole process has been a pleasure, and I recommend without reserve Shand. I feel I could ride forever on them, and they are so beautiful a well!!! My red rohloff just makes me smile when I look at it!
Thanks Team Shand!
Stoater with 105 11sp and hyd disks. Amazing paint. Beautiful welds. Perfect geometry. It just plain carves corners. I'm a big strong guy and this thing is stiff. The staff were great to work with. It's not often that you buy a bike and you get to talk with the owner of the company and he actually has a laugh or two with you.
This is my Shand, a Stoater Rohloff, lightweight steel farme, 14 speed Rohloff speedhub gearing, Gates carbon belt drive and hydraulic disc brakes. S and S frame couplings so I can travel with the bike on the plane. Very yummy. The quality is exceptional and I love riding it. Thanks Shand.
Newsletter
Subscribe to our monthly email newsletter with information about our bikes, news, workshop insights and occasional special offers.